
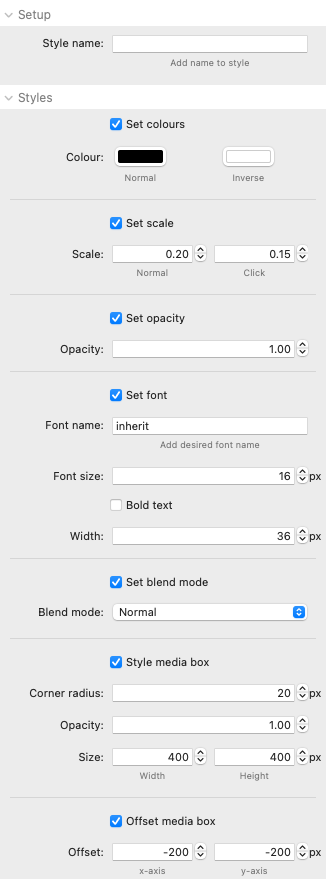
Style name: Each Style stack that you add should be given a unique name. This name can then be added to the 'Custom state' text box in the Rules stack to attach the style to the rule. To attach multiple styles to a Rule separate the names in the Custom state box with a space.
Set colours: If this is enabled then the default colours can be overridden.
Set scale: If this is enabled then the default cursor scale can be overridden.
Set opacity: If this is enabled then the default cursor scale can be overridden.
Set font: If this is enabled then the style for the font used in a text cursor can be overridden. The width value allows you to control how much text is added to a single line. If you make this a large number then you will likely want to change the scale/size of the cursor to suit.
Set blend mode: If this is enabled then a blend mode can be attached to this style name. Note: Blend modes are greatly effected by the colour of the cursor and the colours of the background that the cursor passes over. You will need to experiment to see what options work best for each use case.
Style media box: If enabled then this lets you override the defaults for the media box. This can be applied to any media rule that adds an image or video. To view all of a video / image then you should add the required dimensions to generate the required aspect ratio. The media will fill whatever size of media box is specified.
Offset media box: You can optionally offset the media box from the MM2 cursor. Note: Values that are the negative value of half the width / height will result in no offset. You will need to experiment with the values to place the media box where you want in relation to the MM2 cursor.