
Quiz source
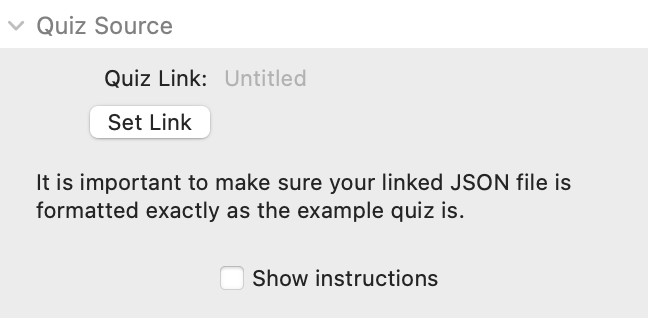
Quiz link: Provide a link to where your JSON Quiz file is located. This could be within Rapidweaver Resources or a location on your web server.
Note: Quizzer stack links to a JSON quiz file (see Quizzer Quiz file article) that contains all of your questions and answers and other quiz-related content. We provide an online quiz generator for an easy way to create, update and maintain your quizzes.
Quiz labels and stylings
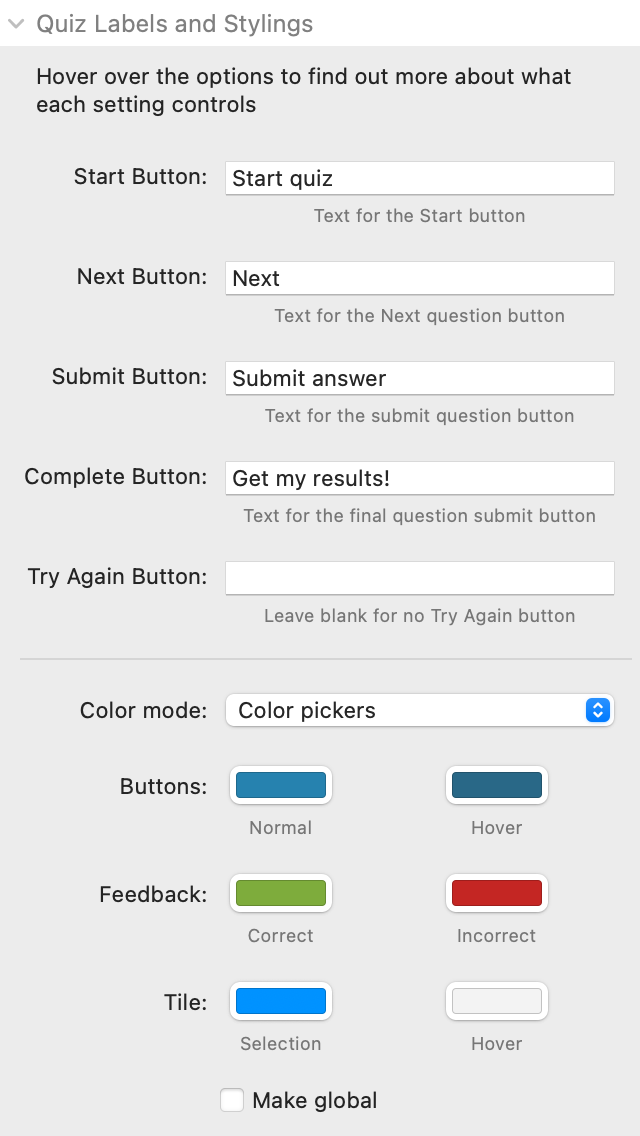
Start Button: Set the text that you want to show on the button that begins the quiz. Note: You can remove the start button for the quiz completely if you wish (in Quiz Functions).
Next Button: Set the text that you want to show on the button that moves the user on to the next question.
Submit Button: Set the text that you want to show on the button that submits the user's answer.
Complete Button: Set the text that you want to show on the button that follows the last question in the quiz. The user will be presented with they score and ranking (if those options are selected) after clicking this button.
Try Again Button: If you wish to present an option to let the user re-take the quiz then it is the text that you enter here that will be used for the button. Note: To not show a Try Again button simply leave this field blank.
Color mode: The drop-down lets you select how you want to assign colours to the elements of the selected Quizzer stack.
- Color pickers: As in the screenshot this option lets you pick colours using the standard color picker
- Color values: This option asks for a text input for each of the colors. You could add html color names, hex values, rgba values or CSS variable values. This last option lets you more easily tie the Quizzer elements into your theme / frameworks color scheme. If using Source then check out the article on Using Source colors.
- Inherit: If you have used the 'Make global' option in another Quizzer stack to then the color values from that stack are available to use in any other Quizzer stack (it saves manually having to copy the values across stacks). Selecting this Inherit option will make the selected Quizzer stack tap into the global colors of that other Quizzer stack.
Make global: If you are using multiple Quizzer stacks on a single page then it can be beneficial to set one of them to set some global colors that can then be picked up by any other Quizzer stack on the page (by selecting 'Inherit' in them).
Quiz elements and sizes
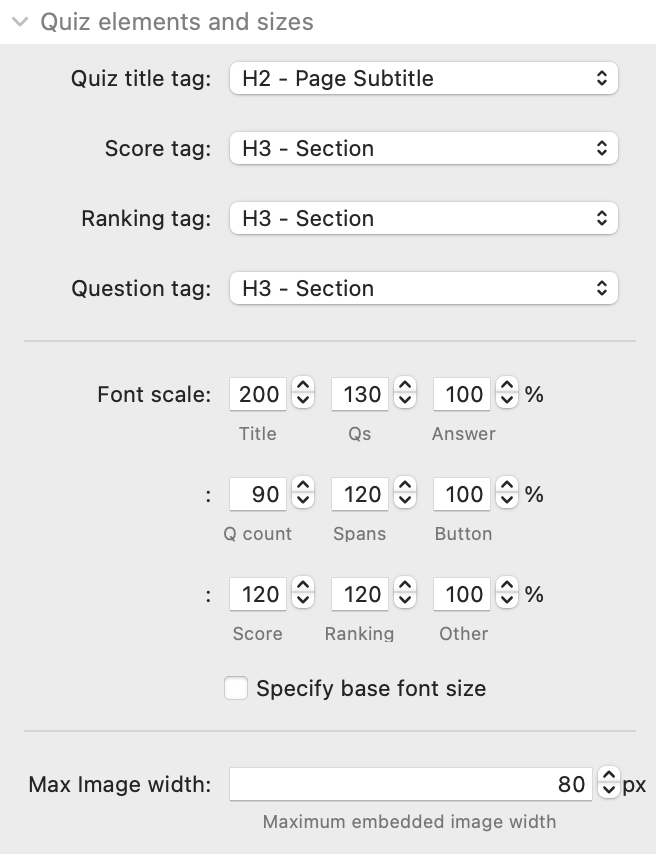
Quiz title tag: This option lets you set what html tag you want the quiz title to have.
Score tag: This option lets you set what html tag you want the score element (on the end page of the quiz) to use.
Ranking tag: This option lets you set what html tag you want the Ranking element (on the end page of the quiz) to use. Tip: If you want to provide comprehensive feedback based on the quiz level achieved then selecting <div> here will allow you to add whatever html you want to the json file to achieve this. If you are simply presenting a few words or a phrase then simply choose an appropriate heading level from the drop down.
Question tag: You can specify what html tag you want the Questions to pick up.
Font scale: Instead of just using the default sizes based on the tags set above Quizzer allows some more flexibility to make your Quizzes look cohesive as a standalone item. The different font scale values let you control how much bigger (or smaller) than the base font size on the page you want each element to be.
Specify base font size: If you want to override the values set by your theme / framework for the base font size then you can do so here. It lets you set a different value (if desired) for small and large devices.
Max image width: This value applies to any images (that you have added using html to the json file) that appear in the answers list or the question feedback.
Quiz answers and feedback
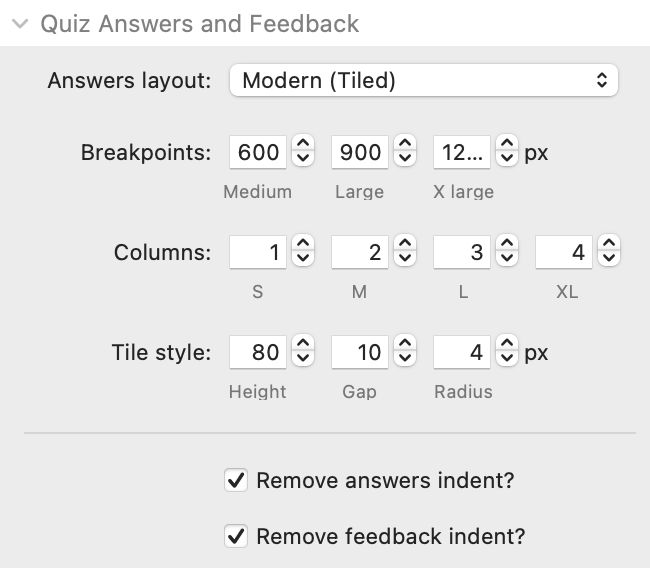
Answers layout: You can select from either 'Modern (Tiled)' or 'Traditional (List)' layout types. The modern (default) approach shows the possible answers as tiles in a grid underneath the question whereas the List option simply presents them as a list.
Breakpoints (Tiled only): Here you can specify the breakpoints at which the different column settings will be applied
Columns (Tiled only): It is here that you specify how many tiles (columns) you want to show at each breakpoint.
Tile style (Tiled only): Here you can set up some styling options for the tile elements including a minimum height, the gapping between tiles, and a border radius.
Input styling (List only): This drop down lets you select how you want the checkboxes / radio buttons to appear in the list
Remove answers indent: By default the answers are shown flush to the left edge but if you want them inset instead then uncheck this option.
Remove feedback indent: By default the feedback response is presented flush to the left edge but can be inset by unchecking this option.
Quiz functions
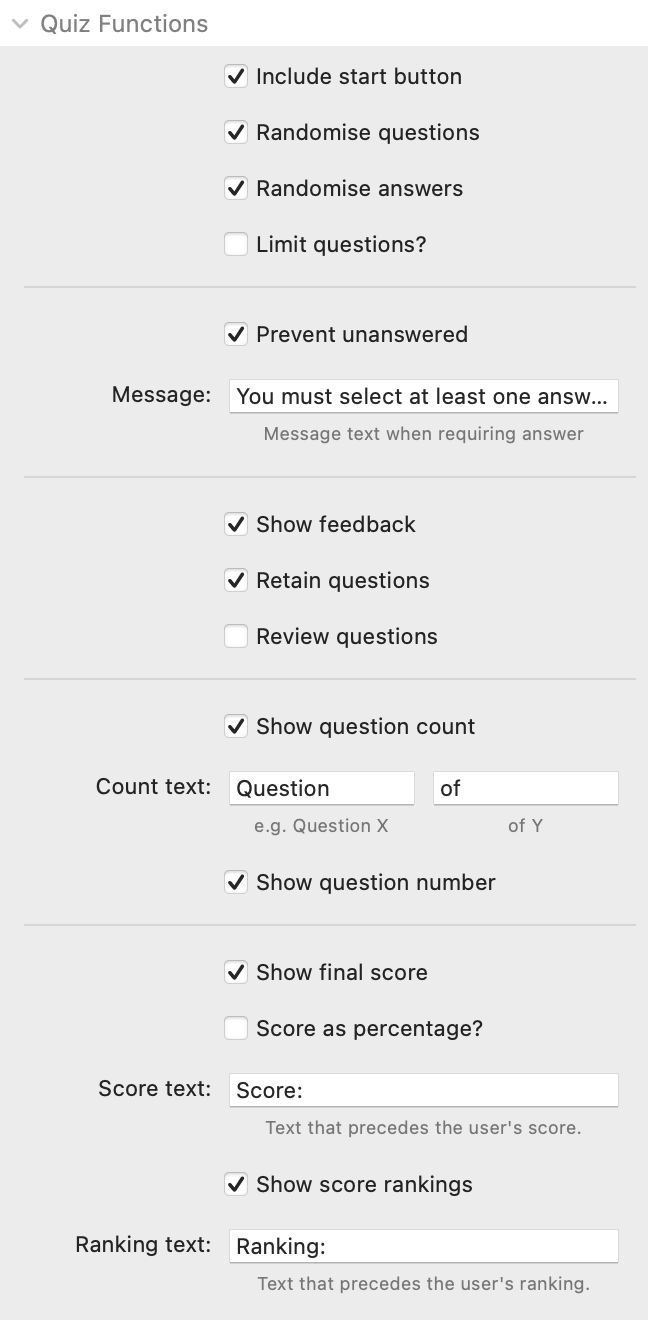
Include start button: If selected this option will display a button that the user needs to press to begin the quiz. If unselected then the first question will be shown on load.
Randomise questions: If selected, the questions from your source file will be shown in a random order. If unselected, they will be shown in the same order as they appear in the quiz file.
Randomise answers: If selected, the possible answers to each question will be shown in a random order. If unselected, they will be shown in the same order as they appear in the quiz file.
Limit questions: If your JSON file contains (e.g.) 10 questions, you can choose to limit Quizzer to only showing a certain number of them. Note: This is a great way to present different questions to people each time they visit your site. Important: You should also select the option to 'randomise questions' if you are limiting how many appear. This will ensure that different questions are displayed each time.
Prevent unanswered: If selected, the user will not be able to proceed to the next question without first answering the current question. A message will be shown to the user advising this.
Show feedback: If selected, the user will be shown the answer feedback (correct or incorrect) after they answer the question.
Retain questions: If selected, the question (and selected answer(s)) will remain visible when the question feedback is shown.
Review questions: If selected, all of the questions, answers and feedback will be shown at the end of the quiz. Useful for the user to review their quiz attempt. Also useful if not showing feedback within quiz so that user can see which questions that they got correct or incorrect.
Show question count: If selected, the question count (i.e. Question 1 of 5) will be shown above the questions. If unselected, this text will be hidden.
Show question number: If selected, the question number will be shown before the question text. If unselected, this number will be hidden.
Show final score: If selected, the user will be shown their score (i.e. 3 / 5 correct). If unselected, then no score will be displayed.
Score as percentage: If selected, this option will display the final score as a percentage (e.g. 80%) as opposed to showing how many were correct (e.g. 4/5).
Show score rankings: If selected, the user will be shown their ranking based on how well they have scored. The ranking text is set within the quiz JSON file. If unselected, then no ranking will be displayed.
Capture / Share results
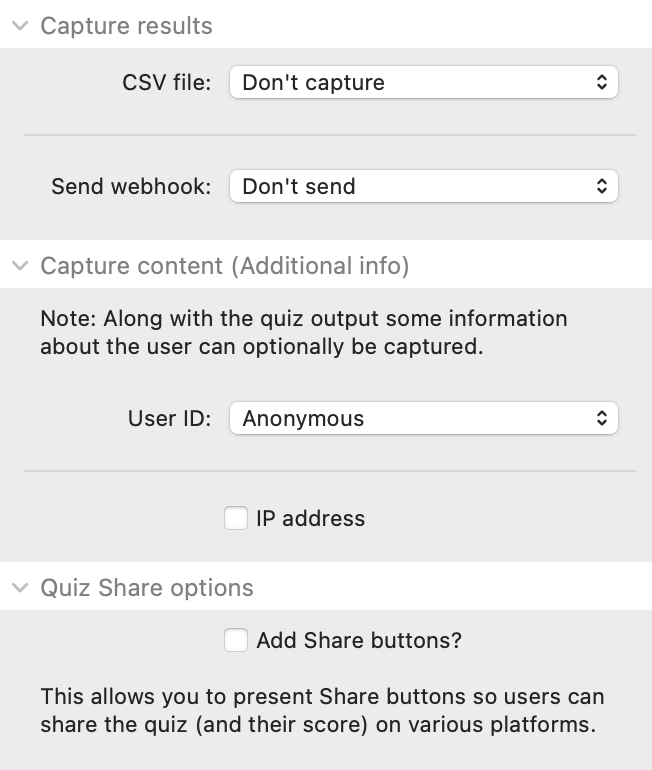
CSV file: If you want to capture the results of quizzes to a csv file on your server then you can do so - enabling this option would save 2 files to your server: 1 that has a summary of responses and another that shows a question by question breakdown of each attempt. If using this option then be sure that subsequent updates of your site do not overwrite / delete the folder (updating via RW should simply merge changes with your server).
- Capture (default location): By default a new folder will be created (called Quiz output) at the same level as the page file on your server. Inside that 2 csv files will be saved - one for the summary and another for the detailed responses. Subsequent attempts at the quiz will simply add records to the existing files.
- Capture (custom location): As above but you can specify where on your server you want the Quiz output folder to be saved. If you have multiple quizzes on your site then this can be a good option as it would let you collate the details of all quizzes in one space.
Send webhook: If you want to do something with the response data in any way (add it to Google sheets, save it to a database, trigger an email etc) then you can opt to send the quiz completion data to a webhook endpoint. Zapier is possibly the most familiar tool to handle these processes but there are numerous other tools that can do the same things (including many with a generous free tier).
- Send summary: Selecting this option will provide an input box into which you should paste the url endpoint (provided by Zapier or whatever alternative you are using). A summary of the quiz attempt will then be sent to the endpoint upon every quiz completion.
- Send summary and responses: If you also want to process the question-by-question response data then you can also opt to send that data too (an additional endpoint url will be required for that).
Webhook flows of this type are really powerful yet very easy to set up.
User ID: If you are capturing data (via either of the methods above) then you can also have details of the user provided too - you can select from requiring Free text (e.g. for a name) or an email address or an ID number of some kind. Note: If you are using multiple Quizzer stacks on a page then you should set them all up with the same user ID requirement (though the user will only need to complete it once to unlock the others too). If you are using a membership site of some sort then an alternative option is to pass the user id value from your membership system to a variable called quizzerUserID (and leave the stack set to Anonymous) - if this variable is populated then it will automatically be passed along with the quiz data.
IP address: If you want to submit the person's IP along with the quiz data then select this option.
Add share buttons: You can set up some share buttons to allow the user to share the quiz (and their score) via different channels. Simply check this box and enable whatever services you wish to include. There are additional fields that let you customise what the default text used is (though the user themselves could of course change any of this).
Advanced
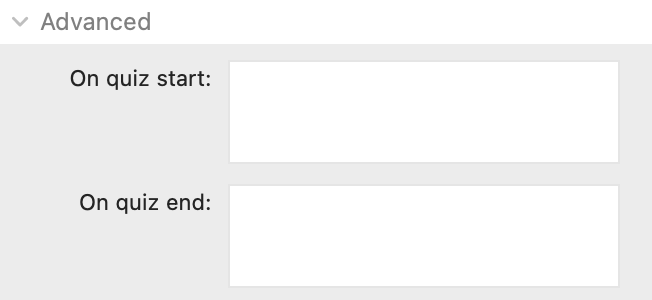
Advanced users can set their own custom code to be triggered when either the quiz starts or ends. There are some variables available to you that could be used in any functions that you add: On quiz start offers quizTitle and on quiz end offers quizTitle, quizScore and quizCount (which is a count of how many questions were answered). A couple of use cases might be to set elements to show or hide based on score or have cookies be set to count attempts.